| T O P I C R E V I E W |
| skunkhome |
Posted - 03/22/2011 : 22:13:17
I am wanting to put my old tiller back in service since it is really getting to be a pain to use the walk behind.
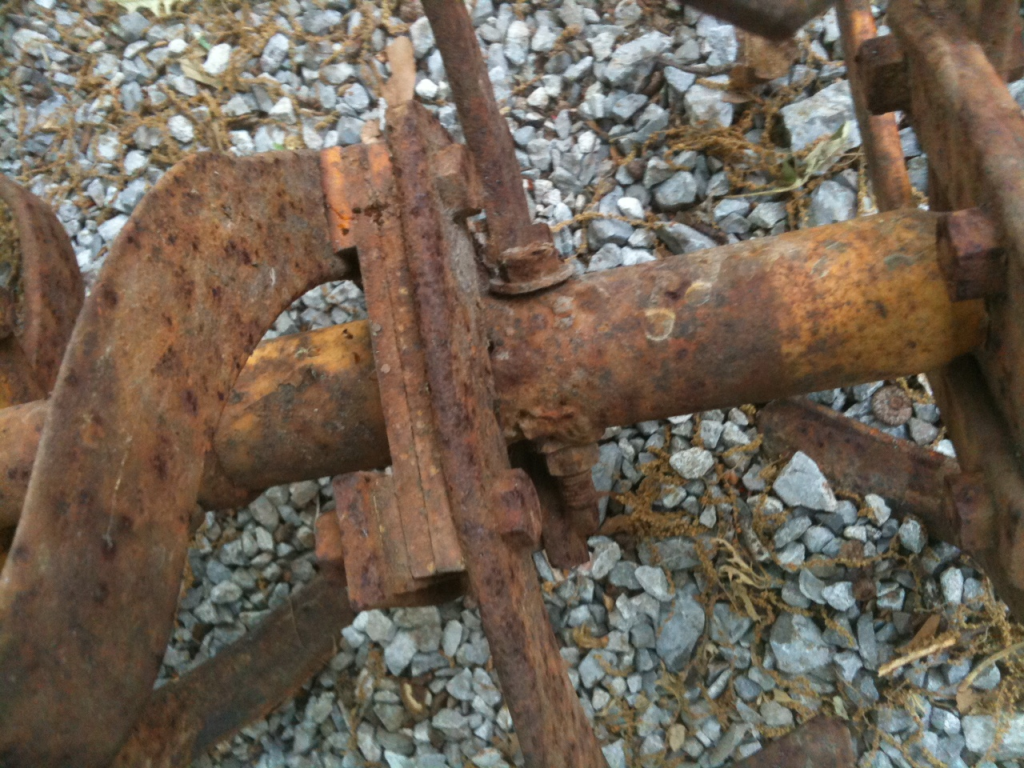
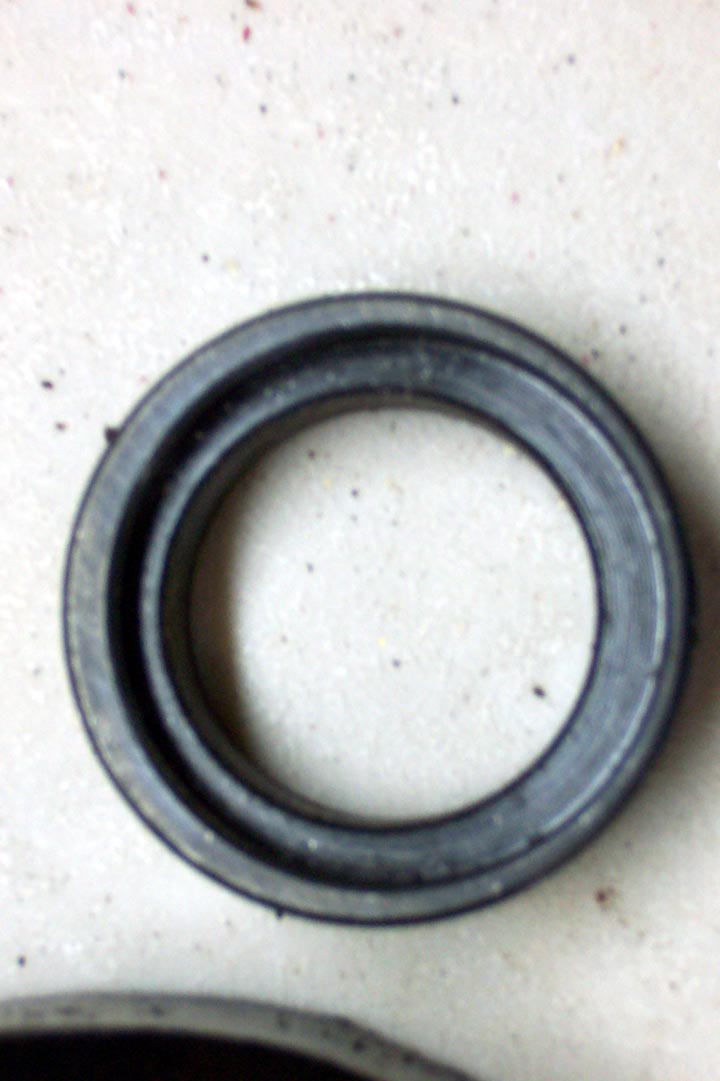
The tiller looks to be complete with extension kit but it is on rough shape.
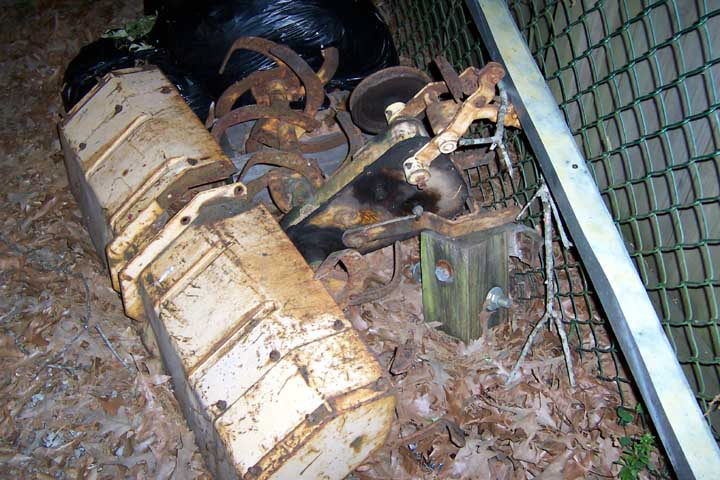
there is a tremendous amount of stack in the chain drive and the bearings are shot.
I tried to remove the tines so that I could get at the bearings but they would not budge. I currently have it soaking in solvent. 
I was thinking of Selling the extension kit but it appears the tines are welded together..and by someone with about the same skill level as I.
|
| 15 L A T E S T R E P L I E S (Newest First) |
| skunkhome |
Posted - 04/24/2011 : 23:37:57
Dale,
that is a great idea, however all my knives are welded together so I am going to have a pretty long rod to go the full width of the extended tines. I love it when people make those kinds of modifications. I have done nothing on the tiller in weeks as my shop is crammed up with supplies I removed from my truck so I could have the bed returned. I have been too busy to take the time to reload my truck properly so the items are trickling out of the shop only as I need them for jobs. could be months before i am able to get back in there and complete welding on the tiller shield. I figured once I got the tiller PTO and shield back together I could run the tiller and see it I knock the tines loose. |
| truckman |
Posted - 04/24/2011 : 23:18:16
Phil,
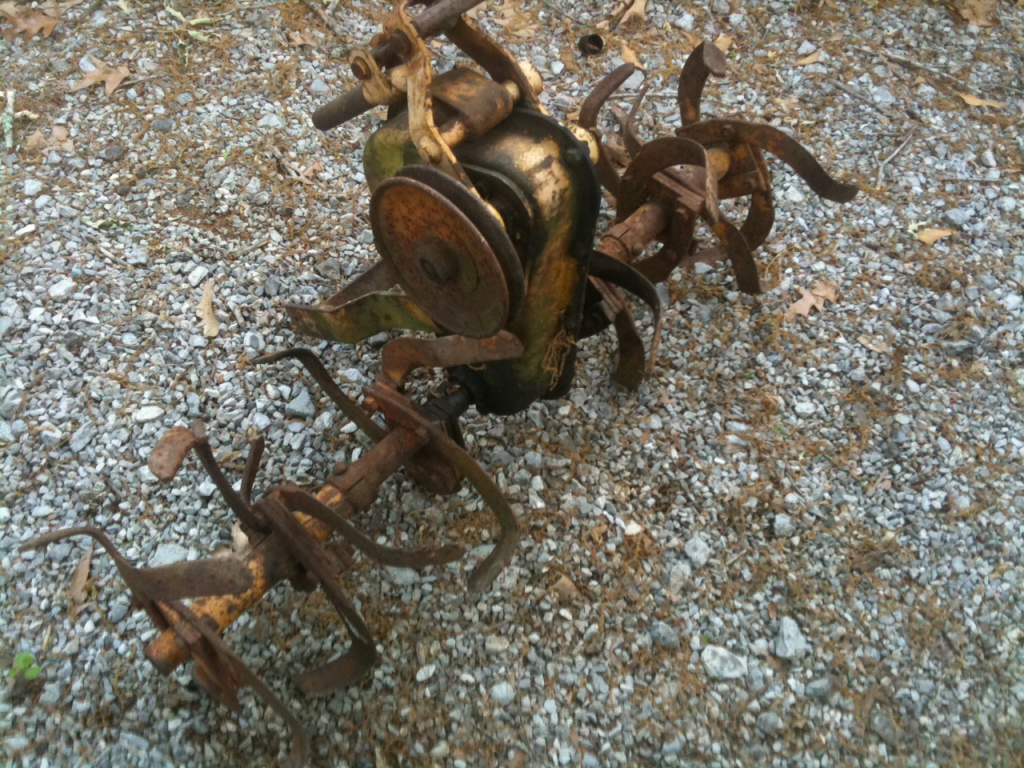
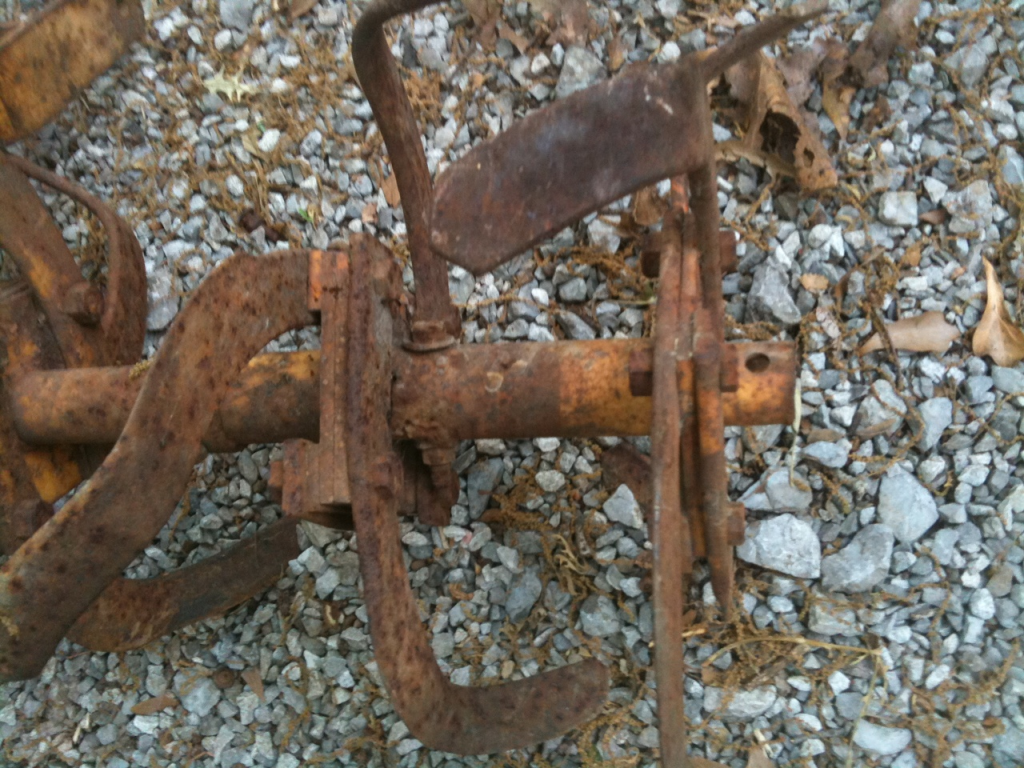
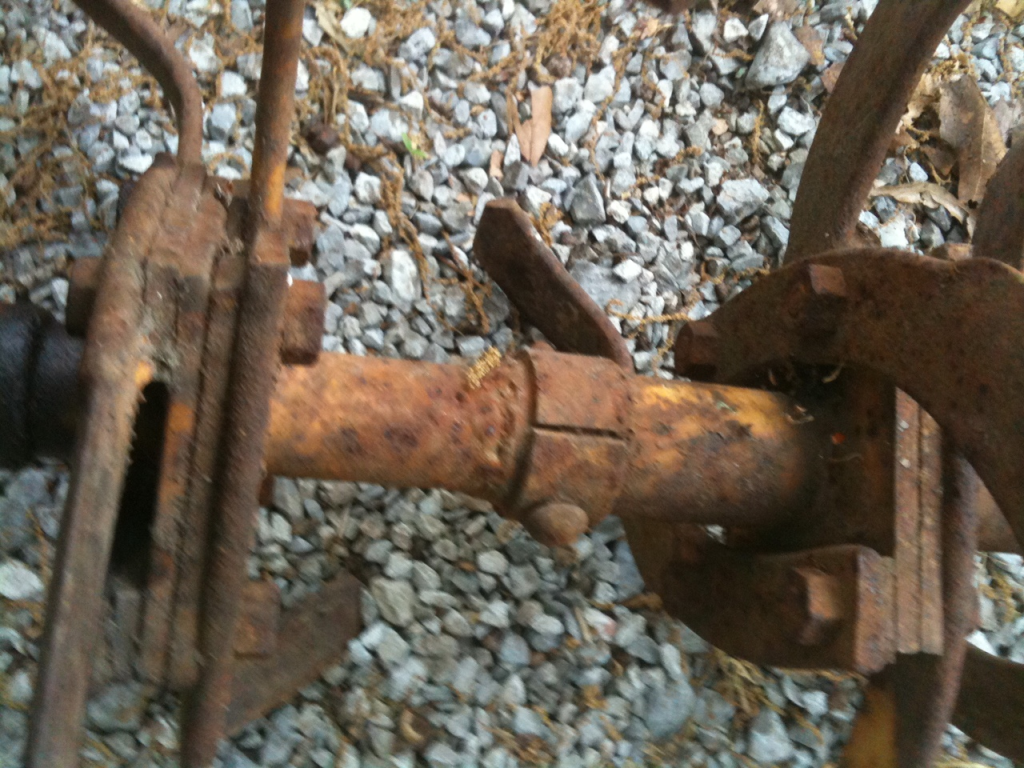
Did you ever get your tines off of your tiller?
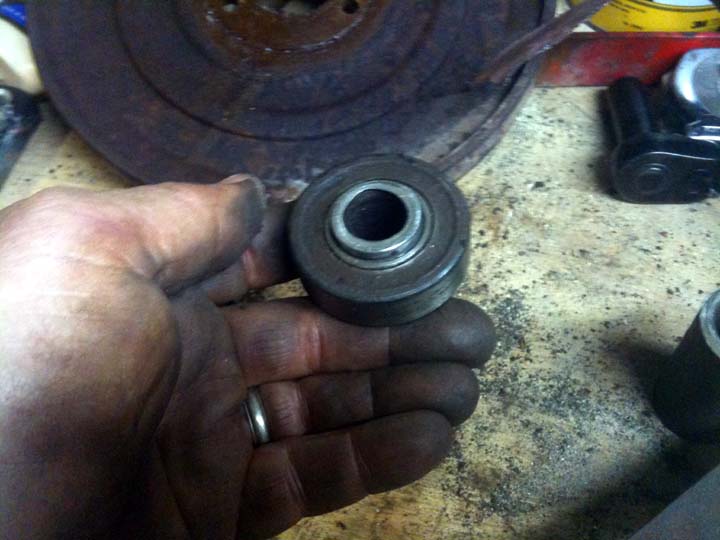
Ijust started the rebuild of mine and had the same problem you did with the tiens being frozen on. Thought I would post how I got mine off.
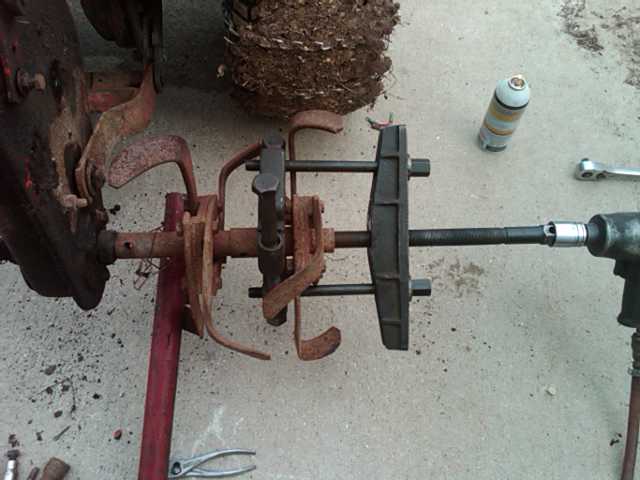

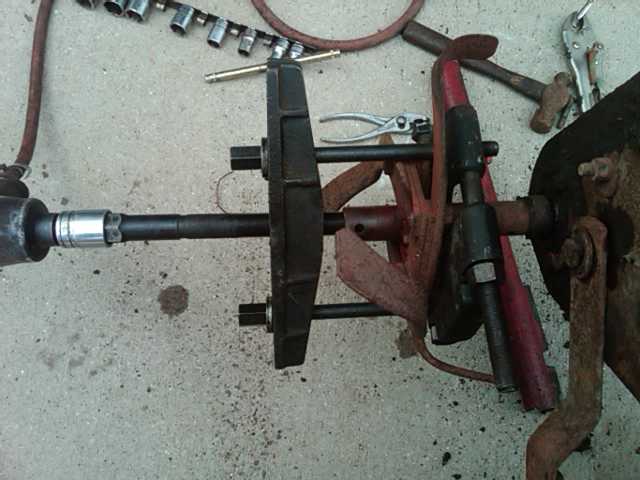
What you can't see in the photos is that I inserted a peice of rod stock smaller then the tiller shaft into the hole to give my puller something to push against. I also used a flat tip on the end of the puller.
Ihopethis helps someone.
Dale |
| MotoXgoon |
Posted - 04/09/2011 : 05:42:50
Phil, you want to lock that collar in the direction of rotation to make sure it stays tight to shaft |
| terdybukrat |
Posted - 04/08/2011 : 22:42:43
On trying to get stuff loose, I'll agree with everyone that said PB Blaster. I've never found anything that works anywhere near as good for me. Spray it and let it sit for 10-15 mins. After 10-15 minutes, take a small hammer and tap(not gently, but not trying to kill it) as many areas/sides as you can and spray it again really good. Come back after 10-15 more minutes/overnite/whatever and start tapping again and see if it's made any progress. Good luck. |
| skunkhome |
Posted - 04/06/2011 : 22:54:29
I did not notice it on the old bearing and can't find it now since I have dumped everything out of my truck. I did try it out and by accident found that it locked to shaft when I twisted it. The old collar I examined and if it is eccentric it is not real obvious. I have never seen anything like it before in this application. I suppose the principle is the same as the cam locks on collapsing tubular legs that I am familiar with.
 |
| B10Dave |
Posted - 04/06/2011 : 22:17:18
Very intentional Phil. Install bearing, put ring in place, hold shaft and turn ring to tighten against bearing ecentric. Tighten set screw. Locks bearing to shaft better than just set screw. Surprised you are not familiar with this setup. It has been common for as long as I was in the automotive trade( since 1968). Dave. |
| skunkhome |
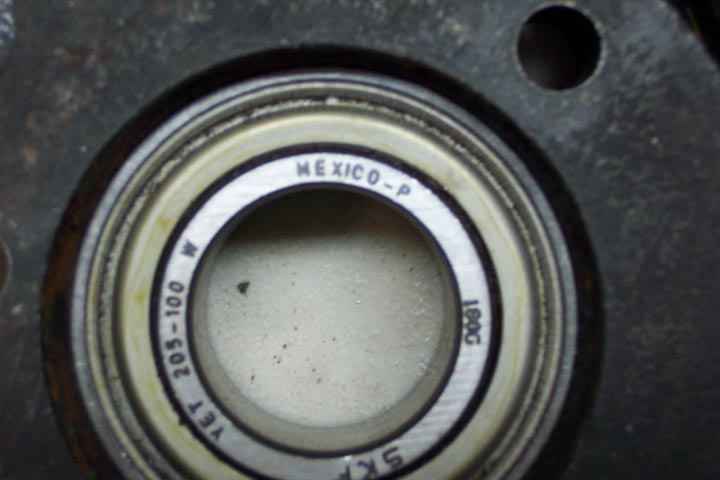
Posted - 04/06/2011 : 20:24:20
I got my bearing in today and I was surprised to see that it came complete with a new lock ring. Even more curious I found that the lip on the inner race and the lock ring were both cut as eccentrics. I did not notice that it was that way until I started assembling them. I miked them even thought I could see the difference clearly with my naked eye.

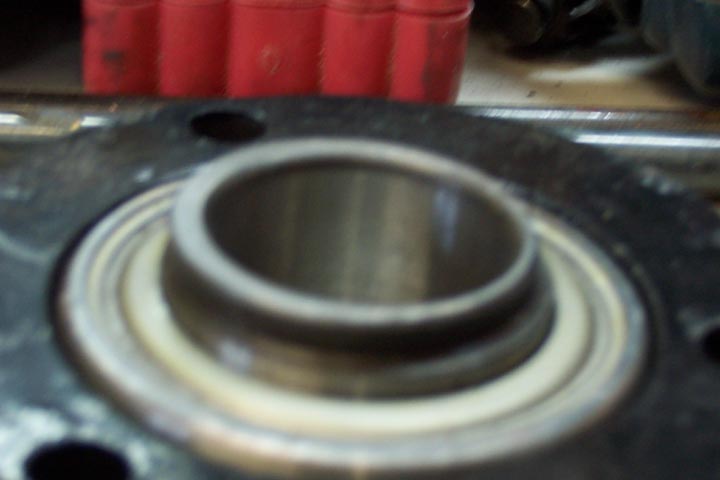
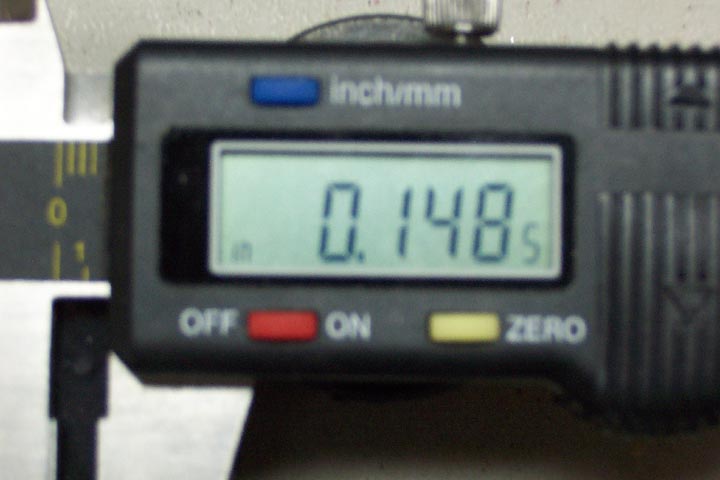
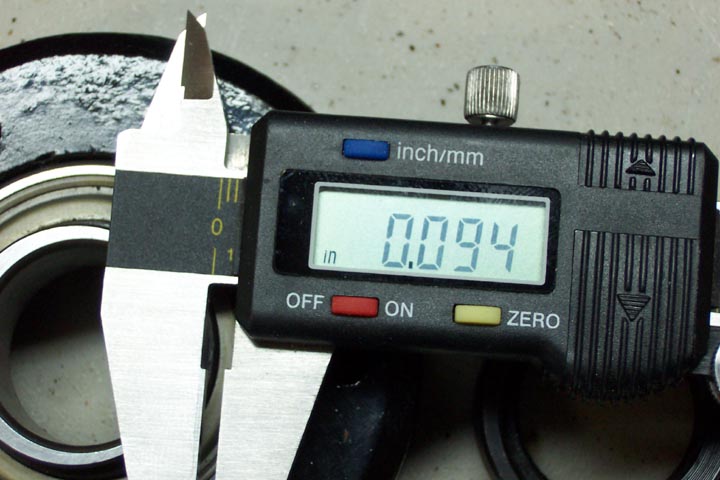
I can't see any such milling on my old parts. Is this intentional or is it just the kind of quality We can expect from Mexico.
 |
| acdad |
Posted - 04/01/2011 : 20:07:18
I am looking forward to seeing pics of this thing in action Phil |
| skunkhome |
Posted - 04/01/2011 : 20:00:43
Dave, thanks that will be most helpful when I am able to get back into my shop. Right now it is filled with all the stuff I took off my truck. I have to take it to the body shop Monday to get the bed repaired from when the guy rear ended me in November. |
| B10Dave |
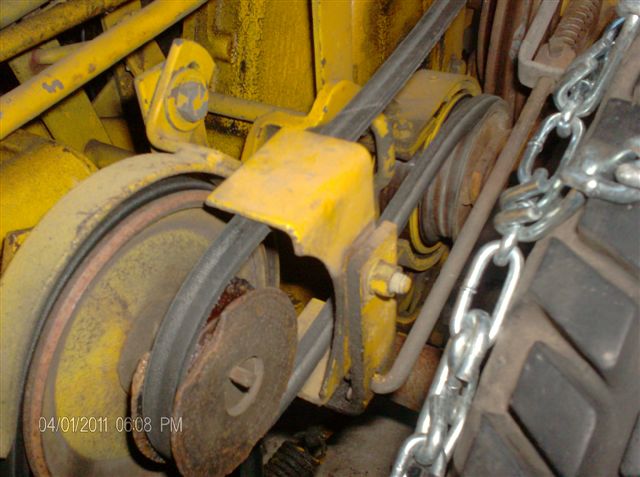
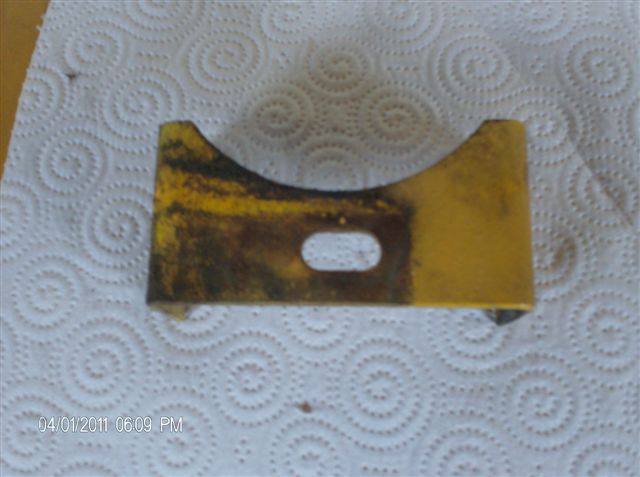
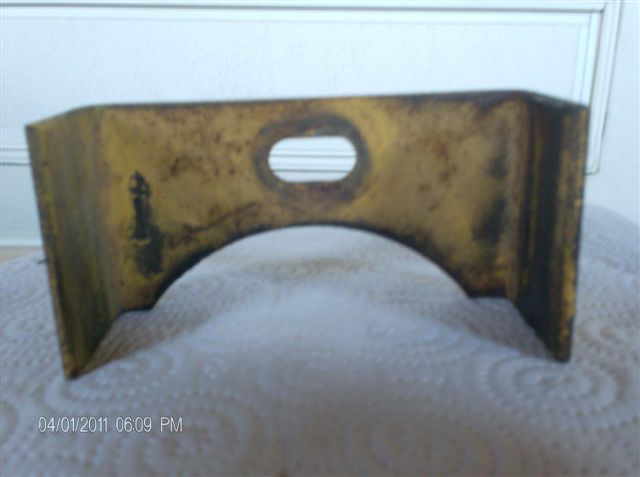
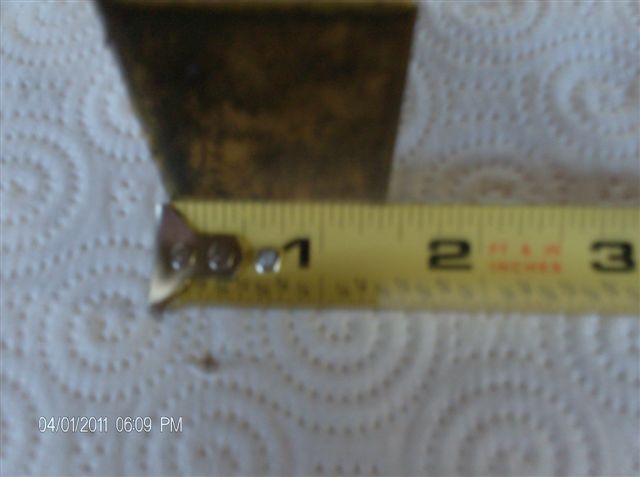
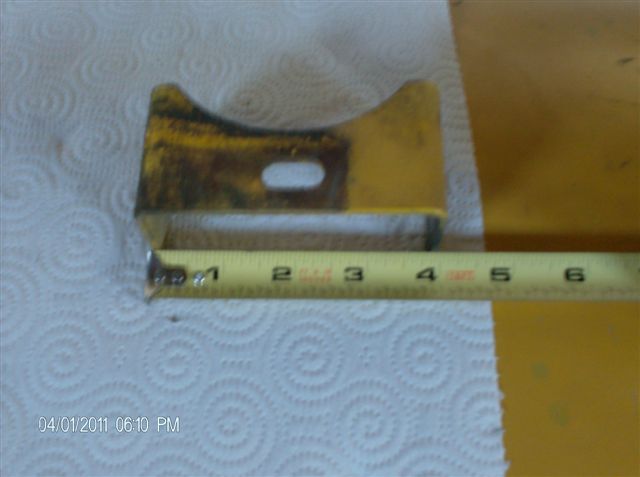
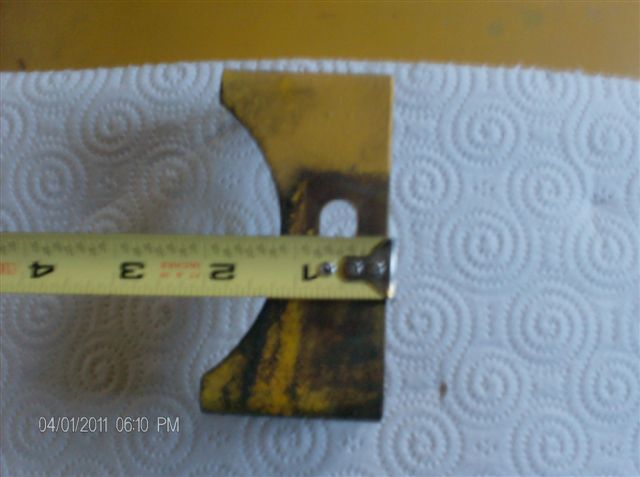
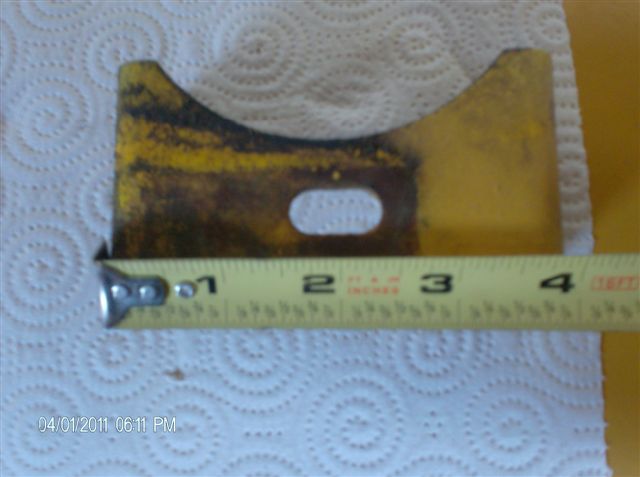
Posted - 04/01/2011 : 17:40:25
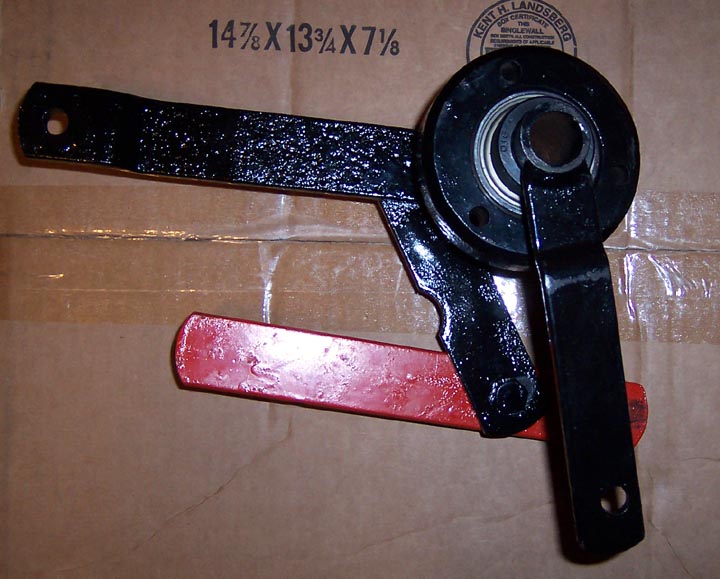
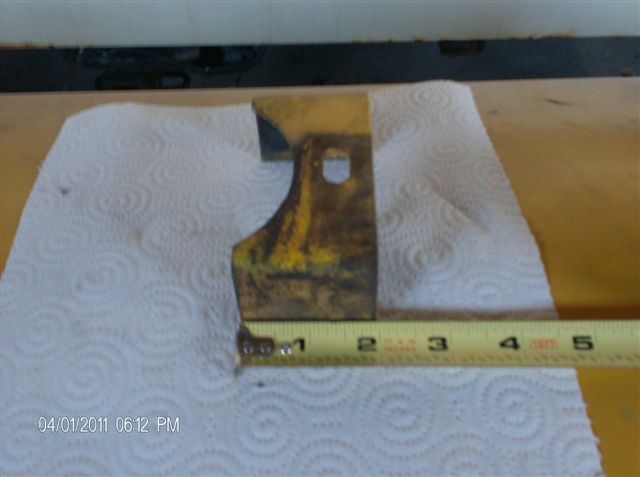
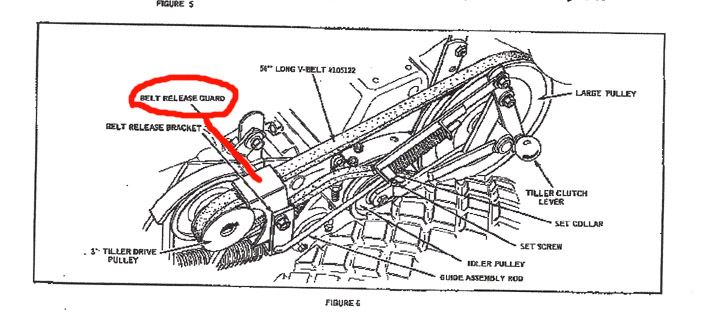
 Phil; hope these pics help you out. Metal appears to be about 16 or 18 guage. If you have any questions PM me. Dave Phil; hope these pics help you out. Metal appears to be about 16 or 18 guage. If you have any questions PM me. Dave
 |
| skunkhome |
Posted - 03/31/2011 : 22:41:50
I am missing the Belt Release Guard and it appears it is NLA. Can anyone give me dimensions off this part.
Apparently the main belt is 54 inches is that an L4 cross section. |
| Cvans |
Posted - 03/26/2011 : 09:40:32
This is turning into quite a project. Looks like your gaining on it though. You can't be having fun if your hands are clean! |
| skunkhome |
Posted - 03/26/2011 : 00:57:38
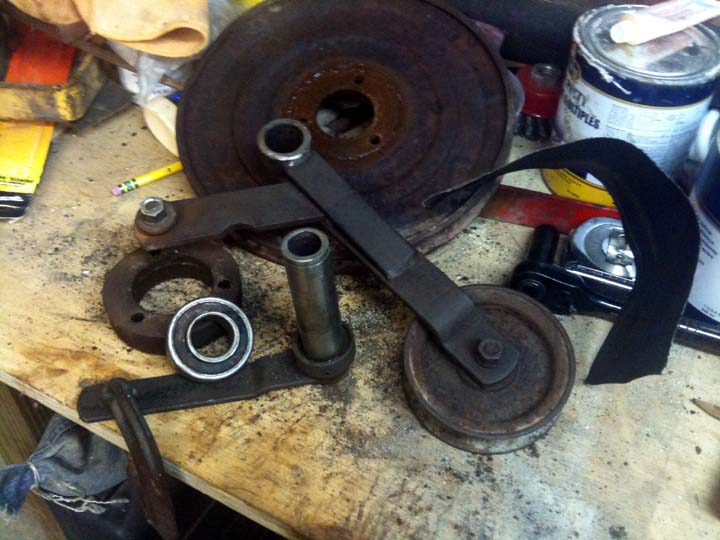
I did not get to the tiller but I managed to get started on the frozen up mule drove. I quickly found that someone had applied a heavyt hammer to the pulley sleeve assembly #105166 and had turned the end over into a mushroom preventing its removal from the idler lever assembly #105177 .

After much filing, grinding and sanding I manager to remove the displaced metal and finally get the assembly apart. If you are afraid to get your hands dirty than you are probably involved in the wrong hobby.

 |
| stangstud1 |
Posted - 03/24/2011 : 07:38:32
Maybe it's because I'm so impatient, but soaking rusted stuff never appealed to me. When it was feasible, I have had really good luck heating stuff like that up cherry red, then quenching it with cold water. It breaks the bond the rust has on the parts. I've done this on tiller tines, sheave pulleys on engines, and the center pivot point on tractors like a 738 has. Just use caution when gasoline is involved. |
| simplelife |
Posted - 03/23/2011 : 22:44:29
Can you get the cross bolts/pins out? If so, here is what a fella told me to do. Soak - soak - soak - soak with PBlaster or similar. After allowing several applications and letting it soak between applications, use two pry bars, one inserted in each side between the tines. Lock one down or get someone to help hold it so you can twist the tines back and forth. This might take several tries over a period of time. Heating the area before applying the penetrant will a lot of times allow is to soak in a little more while the metal is expanded.
If you get them to turn a little, keep working them back and forth. If a BFH won't move them off the shaft, you will need to insert a rod inside the tine housing until it bottoms against the actual shaft, then use a puller hooked to the tines and screwing against the rod you inserted. You may need multiple lengths of rod to finish the process. With the puller installed and pressure on, heat the area and keep tightening the puller. Using an impact driver on the puller might help also.
Also, stand the tiller on end and pour some penetrant down the tine tubes so it will soak in around the internal shafts. |
")
